About once a month, someone walks into our studio holding a quilt top.
The story is almost always the same. They've been clearing out their mother's house, or their grandmother's. In a closet or a cedar chest, they found one quilt top. Sometimes several. Beautiful work. Good color, careful seams, a design someone clearly loved. And never finished.
You'd think that would be sad. Mostly it gives me hope.
It tells me quilters have always been like us. For generations, we've loved the same parts: choosing colors, laying out the design, and watching the top come together. For generations, once the top was done, a lot of us lost steam and moved on to the next one. We're not worse at finishing than the quilters who came before us. We're just like them.
Patterns and Support
From the start, the Jittery Wings vision has been Spellbinding Patterns and Support. The patterns get you excited to start. The support is what gets you to the end.
One of the ways Mitzie lives that out is by taking the less exciting parts of quilting (okay, the boring parts) and making them as quick and simple as she can. Cutting, pressing, basting, trimming. If those steps go faster and feel easier, more quilts make it off the sewing table and onto a bed.
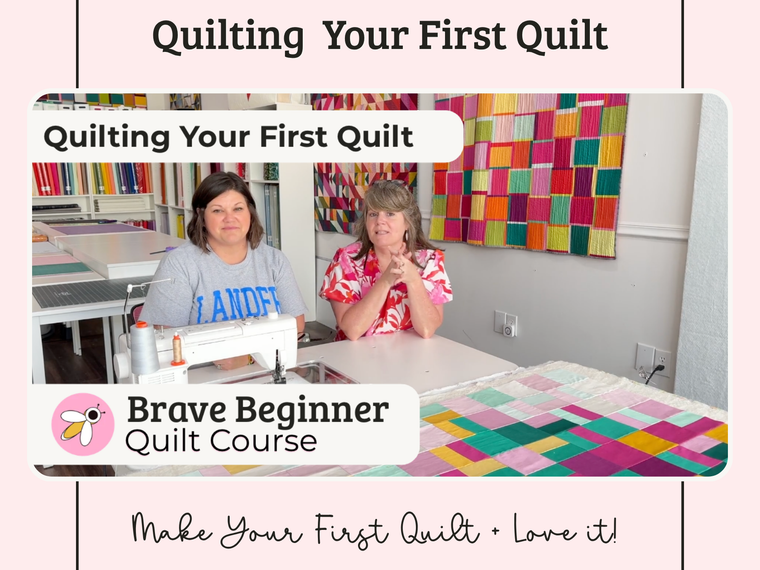
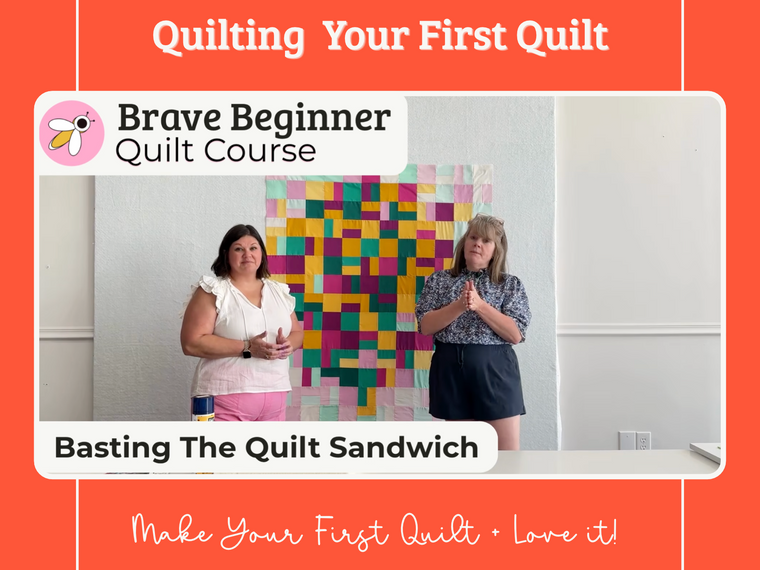
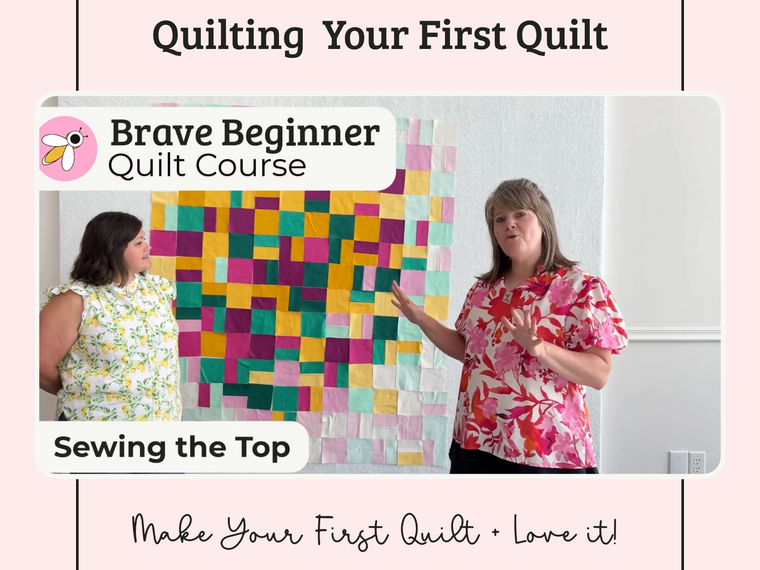
That's what our free Brave Beginner Quilt Course is built for. In the latest lesson, Kelly has finished quilting her very first quilt, and Mitzie shows her how to square it up.

What Matters Most: Straight Lines
Squaring up means trimming away the extra batting and backing so your quilt has straight edges and square corners. It sounds fussy. It isn't, once you know what to aim for.
Across the top and bottom, the outer row of blocks should end up pretty close to the same size all the way across. Use your blocks as your guide. In Kelly's quilt, the blocks finish at 4 inches, and the outer edge keeps a 1/4 inch seam allowance for the binding. So Mitzie lines up the 4 1/4 inch mark on a long ruler with the seam between the first and second rows.
Down the sides, a straight line matters more than matching the width of the blocks perfectly. If your quarter inch lands closer to an eighth in a spot or two, let it go. A straight edge is what makes a quilt hang right and bind clean.
That's the whole goal. Straight lines. Everything else is detail.
The Real Challenge: The Weight
The hardest part of squaring up isn't the cutting. It's the weight. A finished quilt is heavy, and any part hanging off the table pulls on the rest. Your quilt will tug itself right out of line while you're trying to cut it straight.

Here's how Mitzie keeps it under control:
- Take the pull away. Lay one corner on your cutting mat and bunch the rest of the quilt up on the table. Nothing hanging off the edge. If the quilt is fighting you, it's dragging somewhere.
- Fit the table to you. A bigger table holds more of the weight. The right height lets you reach without stretching. We keep three sizes of tables in the studio, because there are three sizes of people in the studio.
- Nudge, don't jerk. If the edge drifts under your ruler, push it back with your fingertips. Hold it there and press the ruler down. It'll stay.
- Cut only as far as you can reach. When Kelly stretched for a long cut, her hand moved and the ruler moved with it. Cut a section, slide the ruler down, line it up, and cut again. If you move, stop.
- Turn the corner on a fresh edge. Rotate the quilt and line up the edge you just cut with a line on your mat. Set your ruler at 90 degrees to it and work down the next side. On white or light fabric, run a finger under the ruler to feel the edge.
When Kelly finished, a few spots along the edge looked a little wavy. That happens. Cut edges can stretch, especially when they get handled a lot. Trim it flat and the binding will finish it clean.
Finish the Quilt
Those quilt tops in the cedar chest weren't failures. Somebody loved making them. They just needed a little more help to cross the finish line.
That's what we want to give you. Next lesson, Mitzie shows Kelly how to cut, piece, and sew on the binding. Then her first quilt is done.
If you're starting fresh, grab the free pattern and begin the Brave Beginner Quilt Course from lesson one. If you've got a top waiting in a closet, yours or someone else's, bring it out and come tell us about it in the Hive at hive.jitterywingsquiltco.com.
Let's finish it.
Get the Free Sidewalk Cracks Pattern